Step by Step Guide to Fitting Sliding Wardrobe Doors
Continue this until all internal shelves refitted
Useful Guides
[printfriendly]
Step by Step Guide to Fitting Sliding Wardrobe Doors
Below is a step by step guide we put together to help you if you are a keen DIY enthusiast and fancy having a go at installing your own sliding wardrobe doors. Of course, every installation will be different and there may be more or less steps than we have shown below but hopefully there is enough for you to understand the main points. If you would like our help installing sliding wardrobe doors we would be only too happy to give you a free estimate.
1) Firstly clear the room of all furniture to enable a clear space to set up

Clear the room
2) Check the floors and walls for levels, this gives you an idea of how easy it will be to install wall stiles and floor rails
Check levels
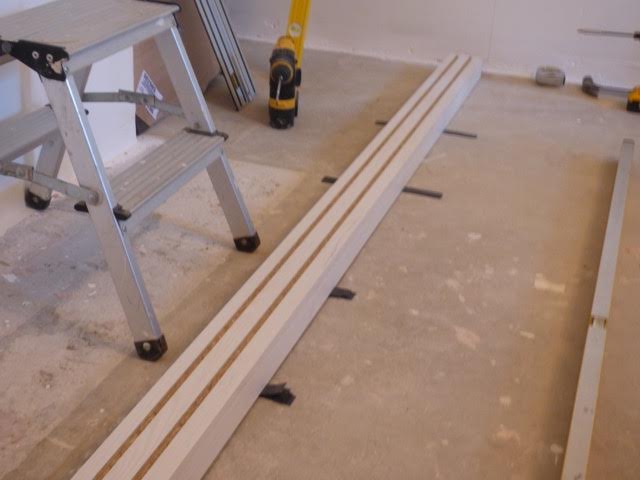
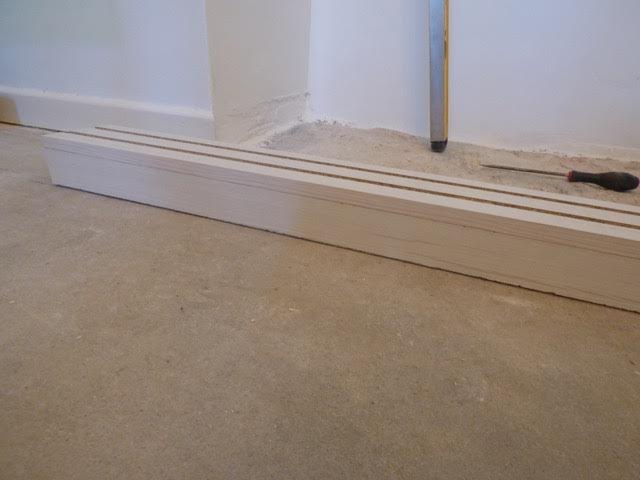
3) Fix 25 mm MDF batten to floor using suitable fixings to the depth of your finished wardrobe edge minus 15 or 18 mm (depending on which wardrobe range you have chosen). doors including overhangs will need to be marked out here to ensuring that they will fit and that it does not affect any internal drawers
MDF Batton
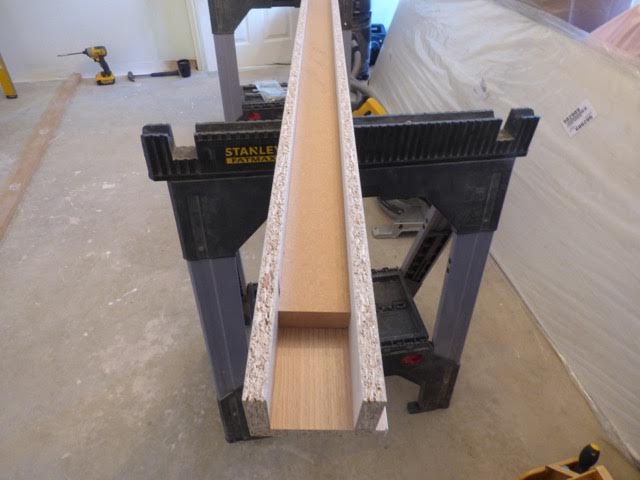
4) Fix the bottom rail together using the fixings provided making sure the good edge faces the front
Fix the bottom rail
5) Fix the back edge of the floor rail by using an off cut of the 25 mm MDF batten
Fix the back edge of the floor rail
6) Lay the floor rail over the 25 mm MDF batten and level up using appropriate packers
Lay the floor rail over
7) Ensure the floor rail is 100% level otherwise the top rail will not be level and doors may run and not close correctly
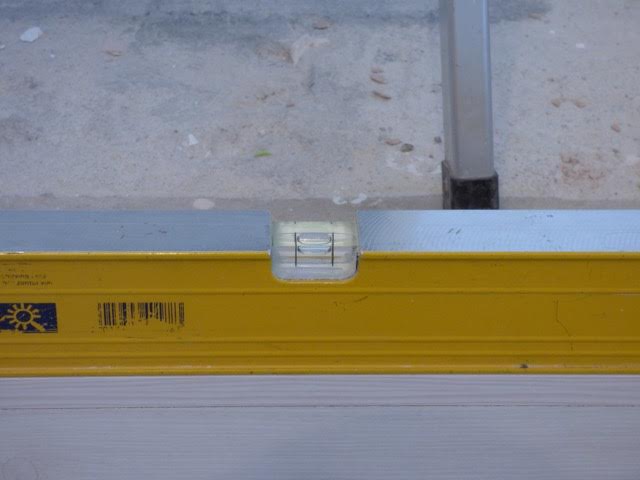
Ensure the floor rail is 100% level
8) Ensure rail is level across its width

Level across its width?
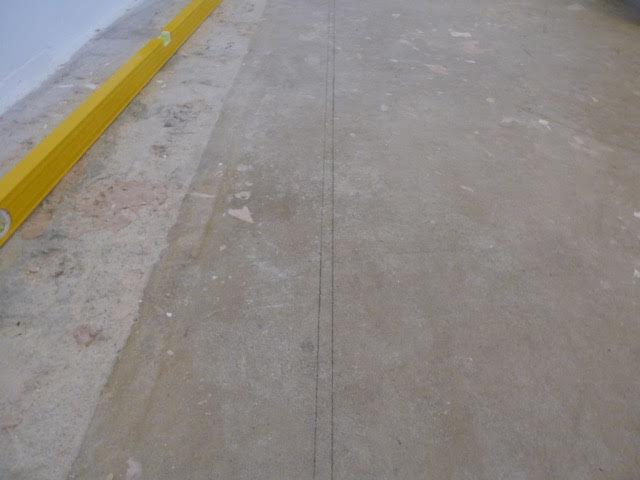
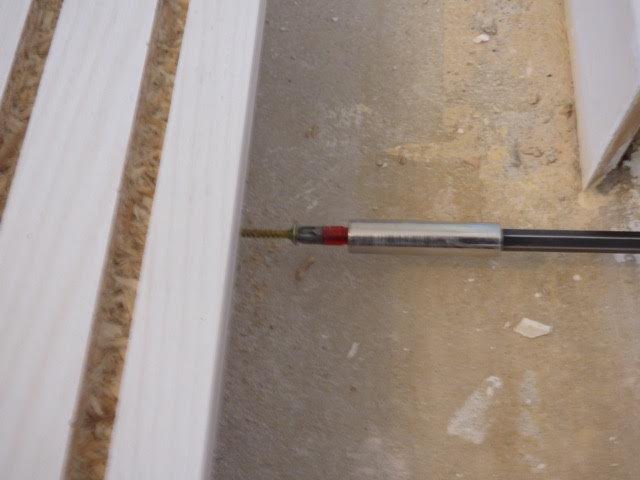
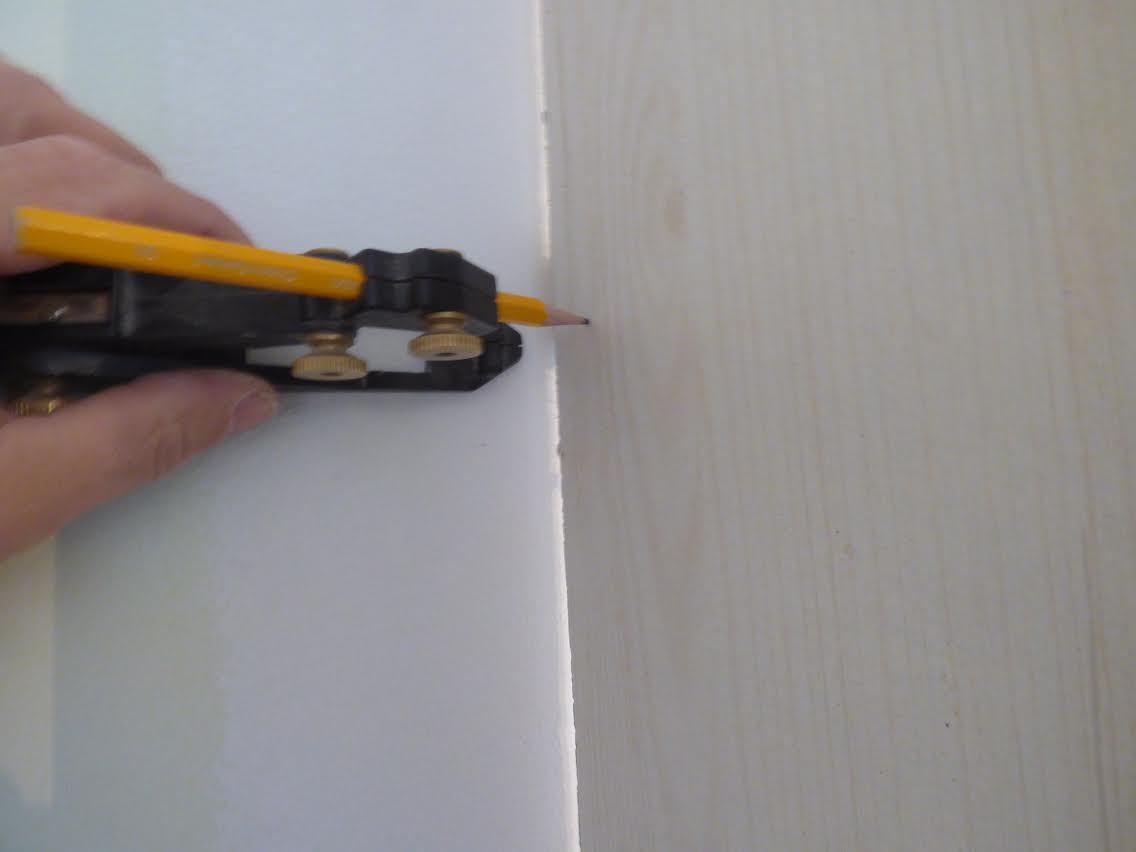
9) Scribe the floor rail to the floor
Scribe the floor rail
10) Plane off to pencil line
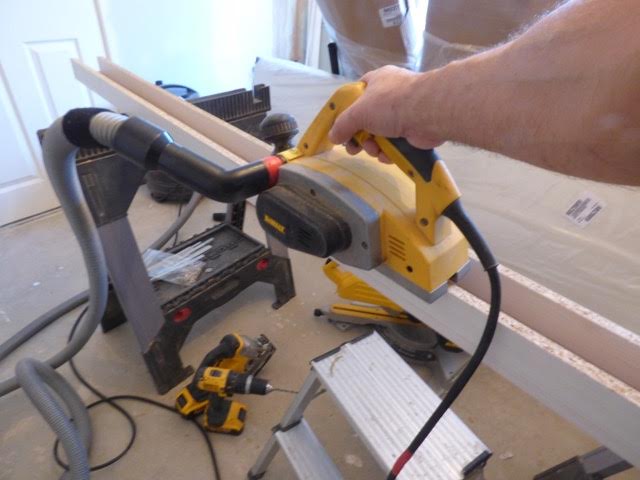
Plane off to pencil line (Specialist tools may be required for this stage)
11) Ensure floor rail sits onto floor and is completely level
Ensure floor rail sits onto floor
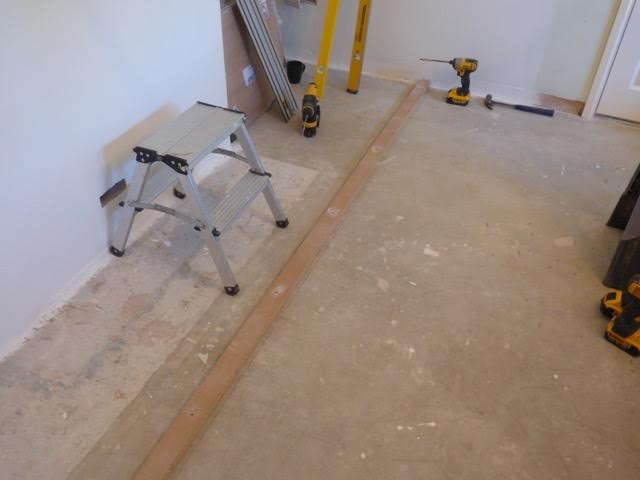
12) Fix the floor rail to the 25 mm MDF batten using suitable fixings and by fixing from the back into the back edge of the floor batten
Fix the floor rail to the 25 mm MDF batten
13) Fix the blocks to the wall batten
Fix the blocks to the wall batten
14) Fix the batten to the wall flush with the front edge of the floor rail and ensuring that it is 100% upright
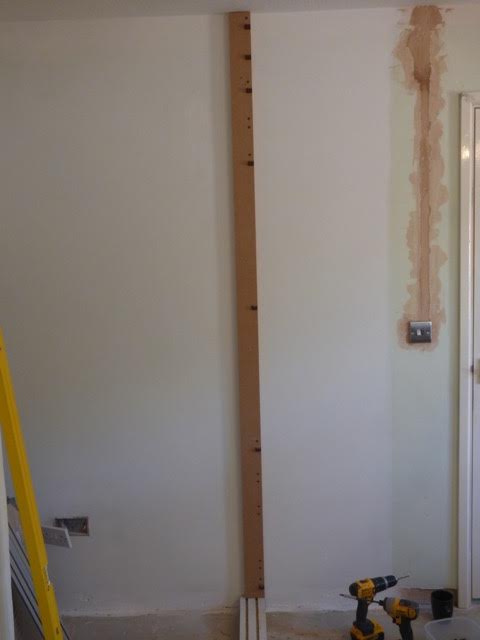
Fix the batten to the wall
15) Place L brackets square with the end of the floor rail, these are to fix the end panel onto
Place L brackets square (Bottom Shown)
16) Place L brackets square with the end of the floor rail, these are to fix the end panel onto
Place L brackets square (Top Shown)
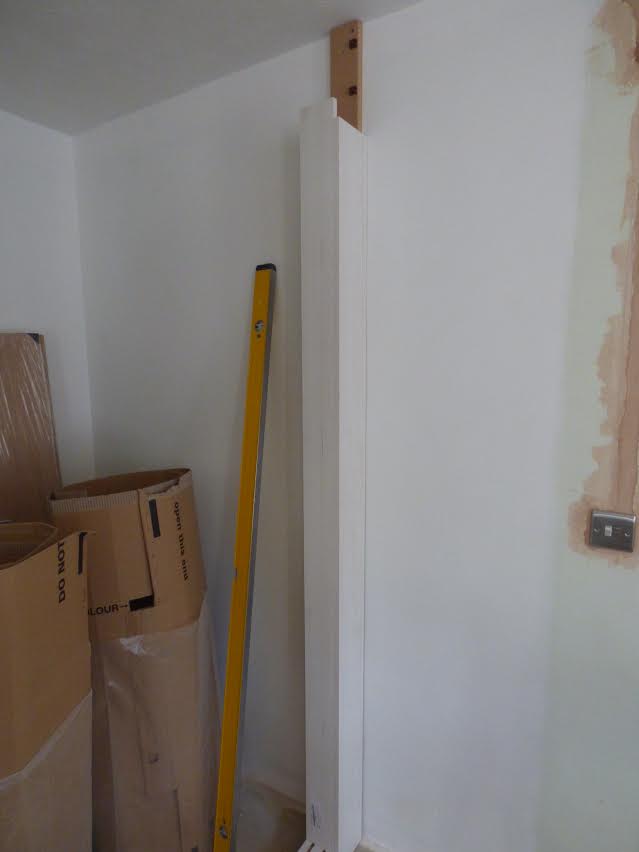
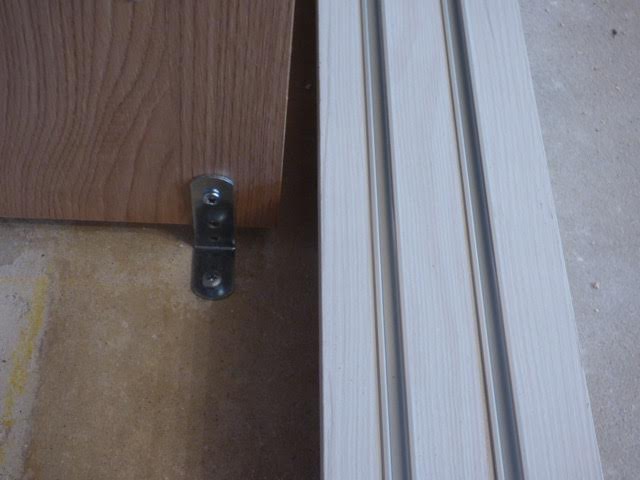
17) Fix the end panel in place as tight to the wall as possible ensuring it is 100% level
Tight to the wall as possible
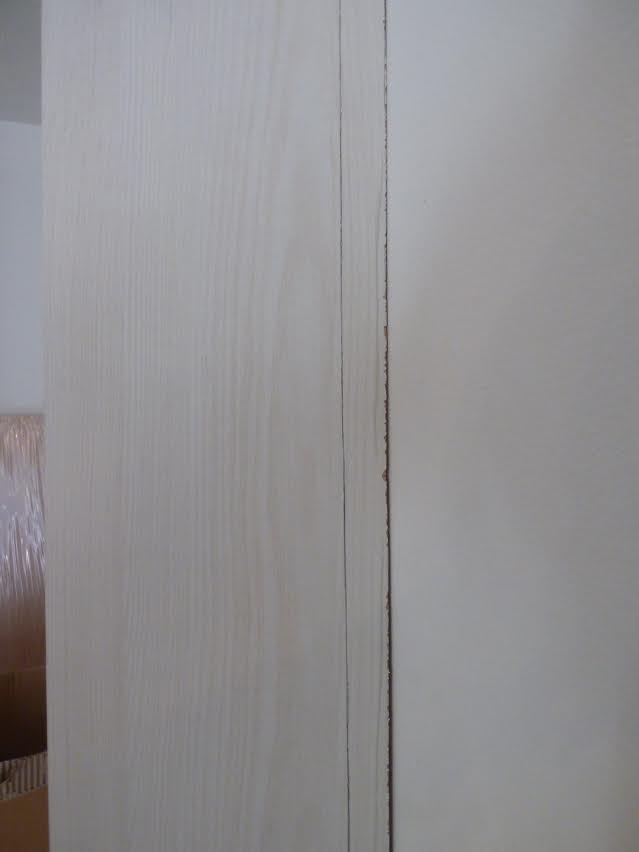
18) Scribe the end panel to the wall allowing for a 15/18 mm overhang (depending on which wardrobe range you have chosen) from the front of the floor rail
Scribe the end panel
19) To get the moulding of the skirting use a scribe guide
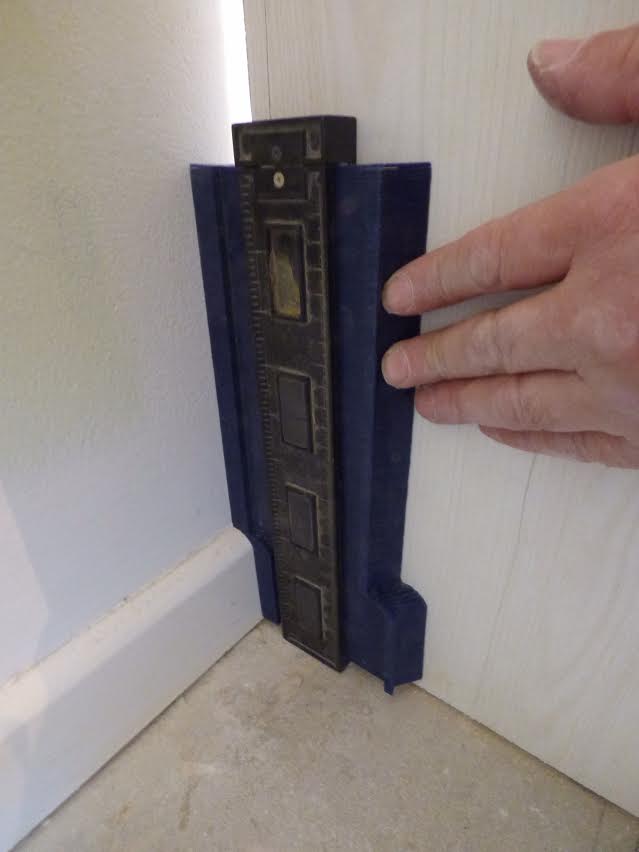
Moulding of the skirting (Scribe Guide tool required)
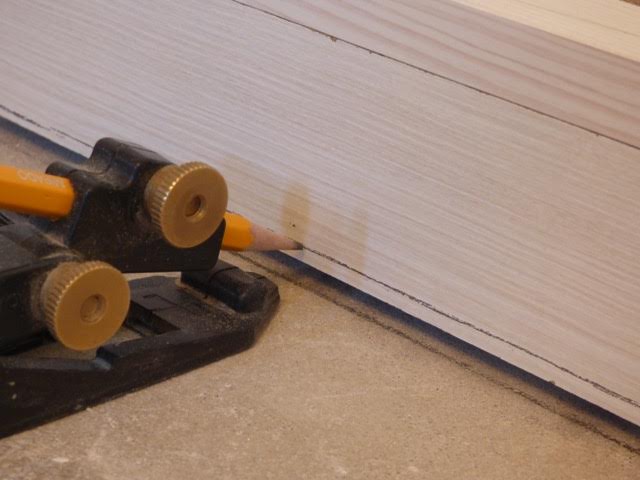
20) Mark the moulding on the end panel to the lines previously marked
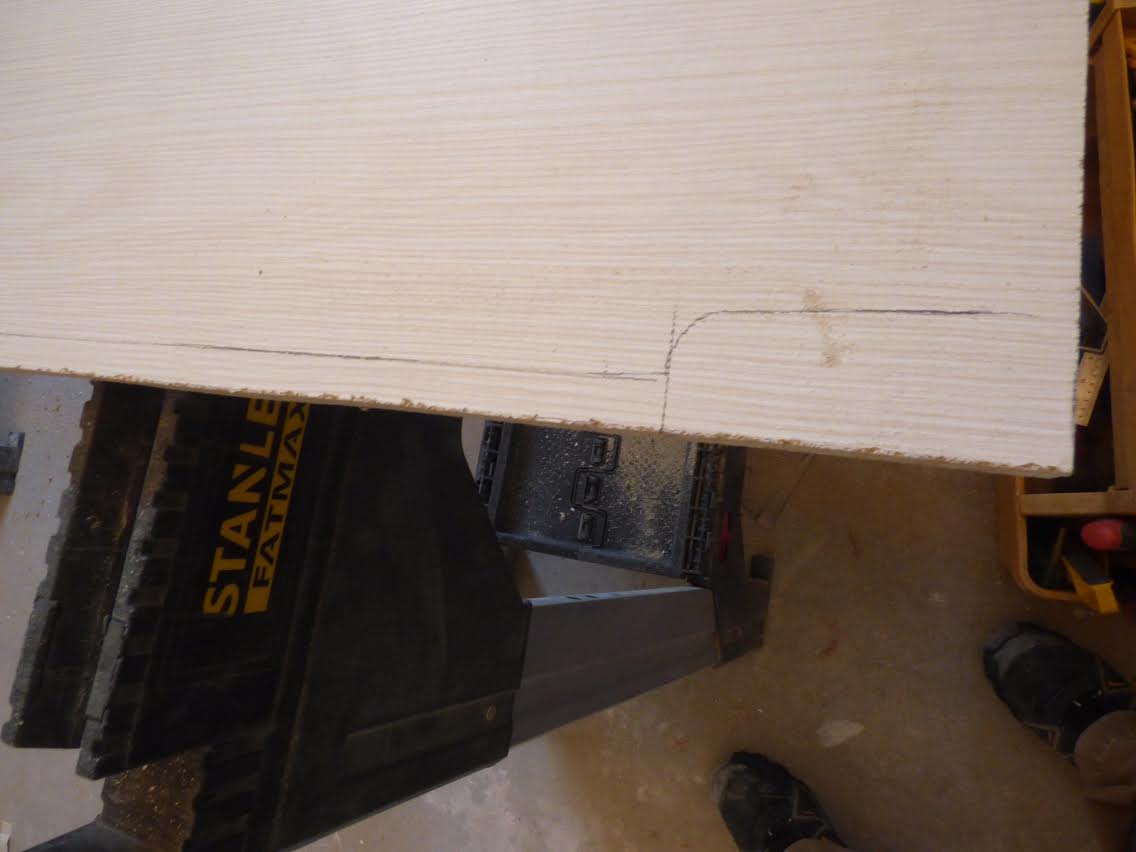
Mark the moulding on the end panel
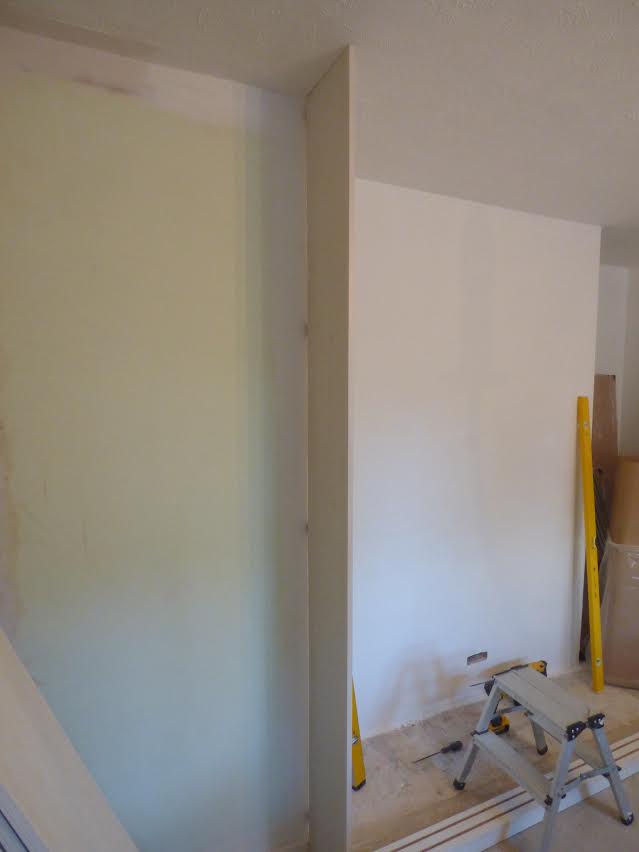
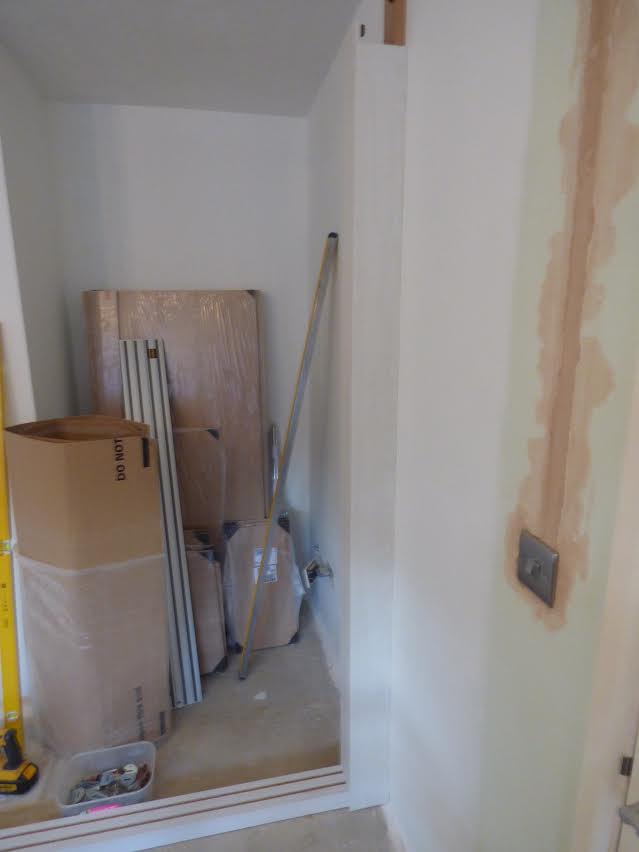
21) Fix the end panel to the wall with suitable fixings and fix the side stile to it
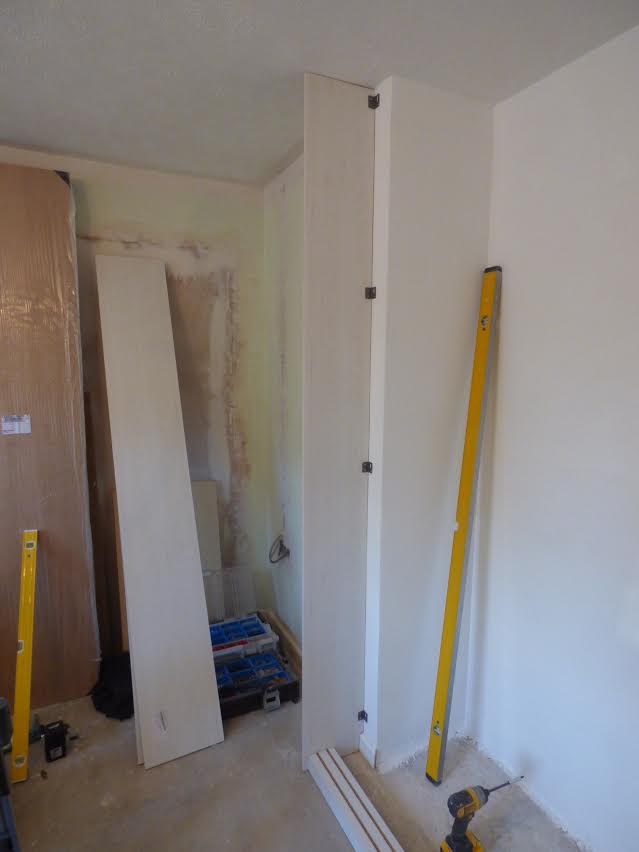
Fix the end panel to the wall
22) Fix the side scribe together and fix as tight to the wall as possible and ensuring that it is 100% level
Fix the side scribe together
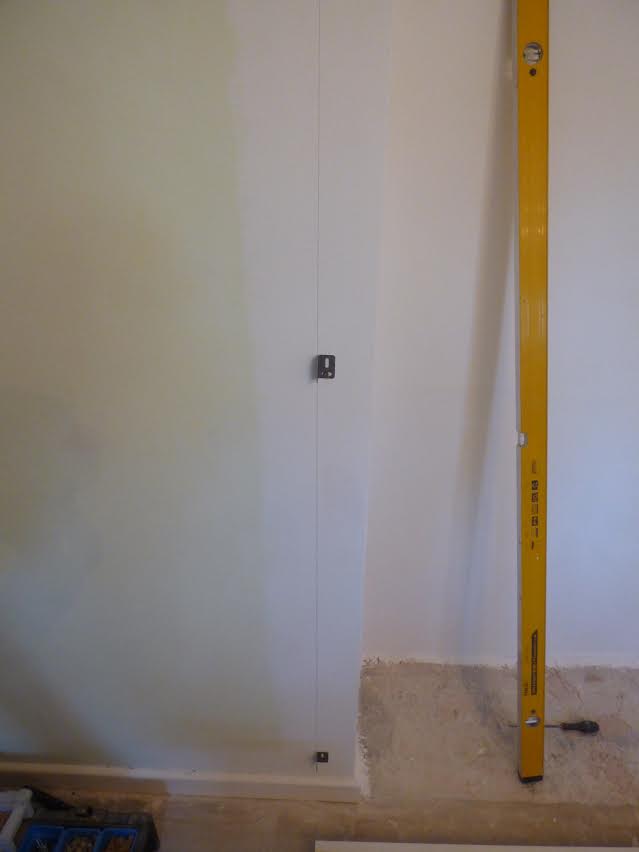
23) Scribe to the wall the measurement that you have marked for the door to close to
Scribe to the wall
24) Fix the side scribe in place using suitable fixings and place aluminium tracks into grooves on the floor rail
Fix the side scribe in place using suitable fixings
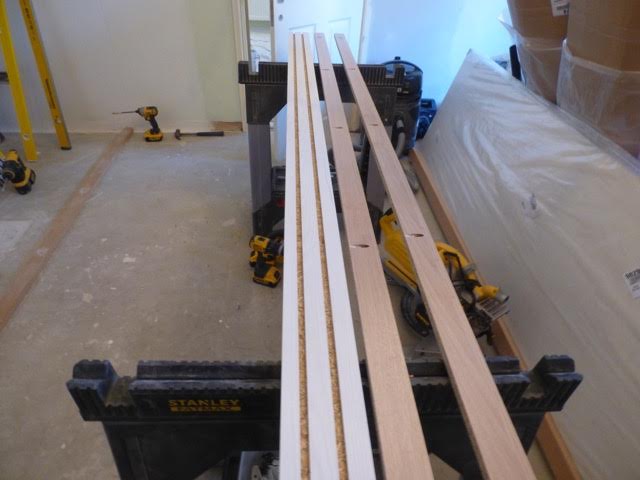
25) Fix the top rail batten together
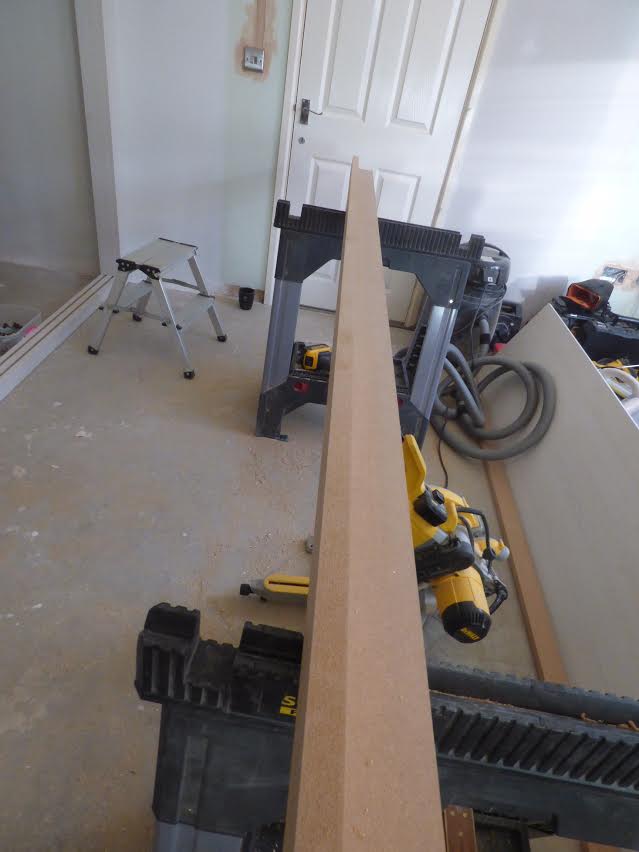
Fix the top rail batten together
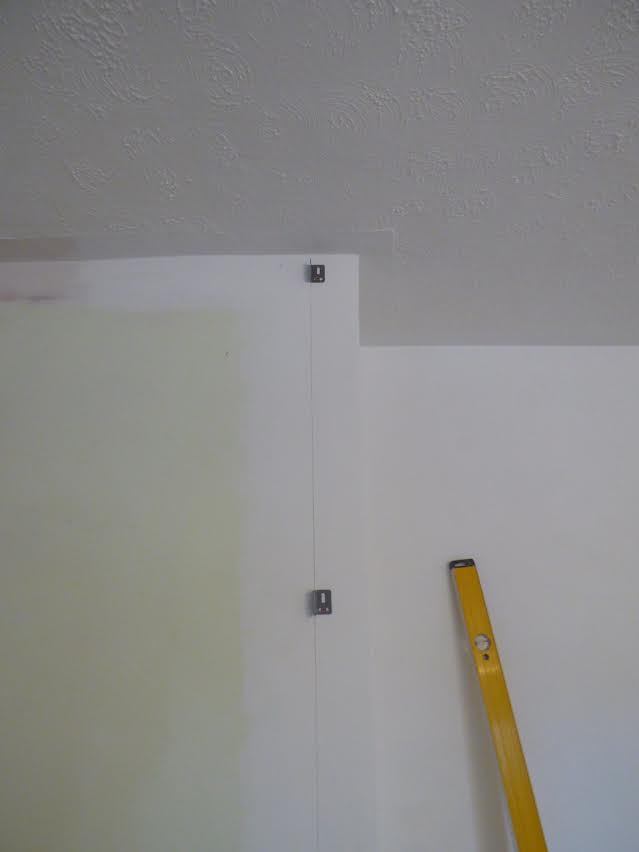
26) Place this on top of the side stiles and fix to the wall battens and level a line to the ceiling, then place and fix a batten to the ceiling. fix another batten to the ceiling batten and top rail ensuring the top rail is 100% level
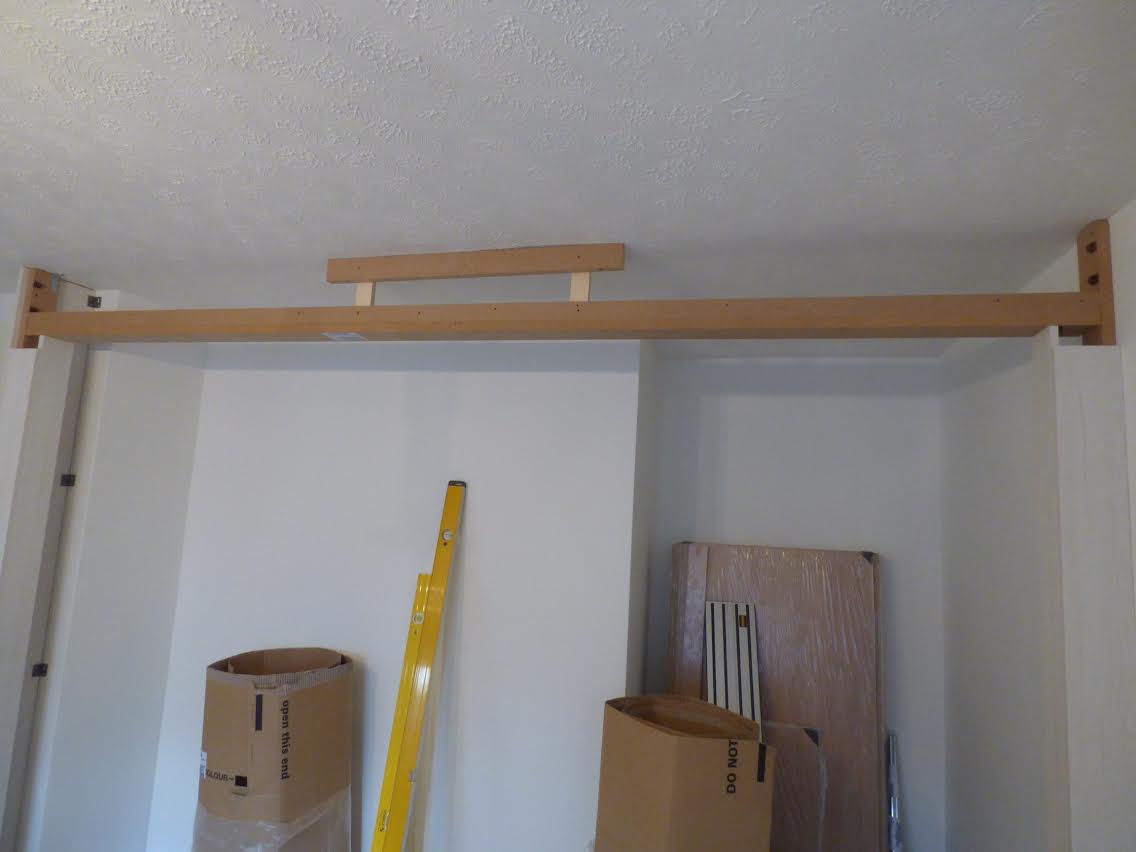
Place this on top of the side stiles
27) Place screw blocks onto the top of the top infill and rest onto the shoulders of the side scribes and clamp in place. (if the floor rail was fitted level then this top infill should automatically be level
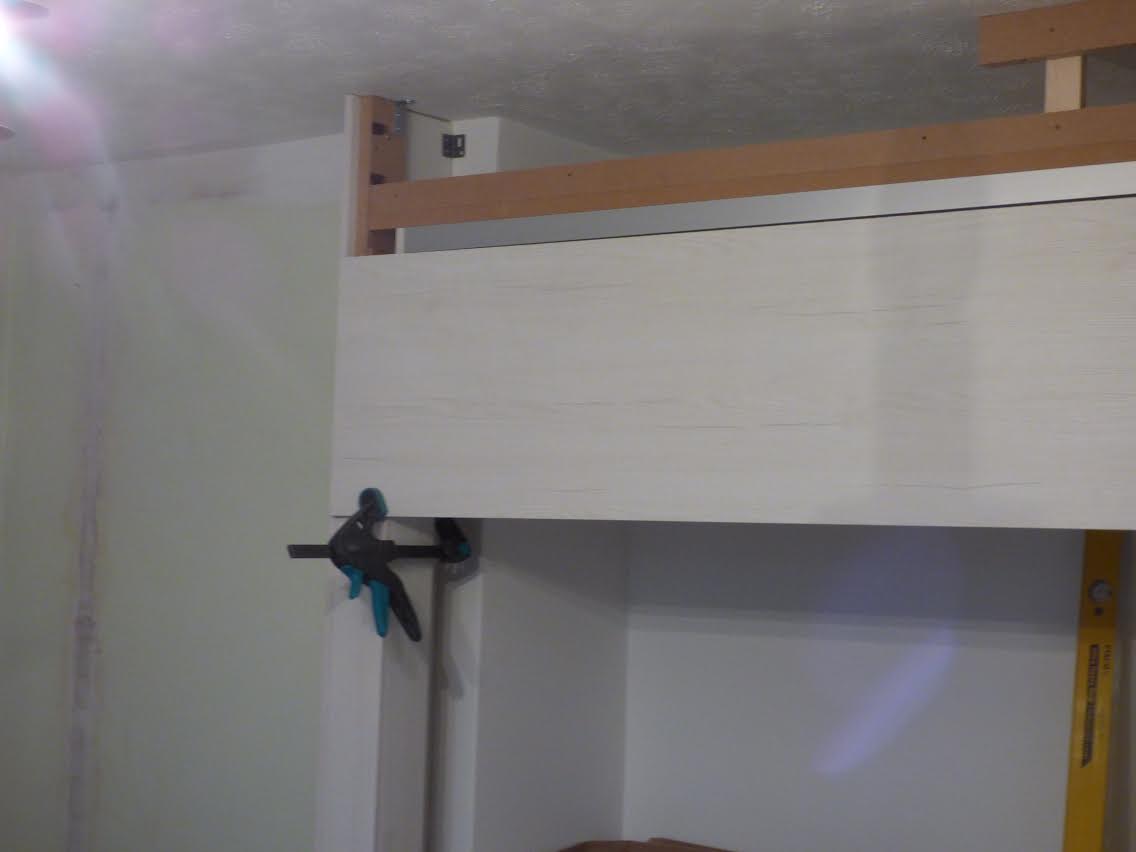
Place screw blocks onto the top of the top infill
28) Scribe the top infill to the ceiling
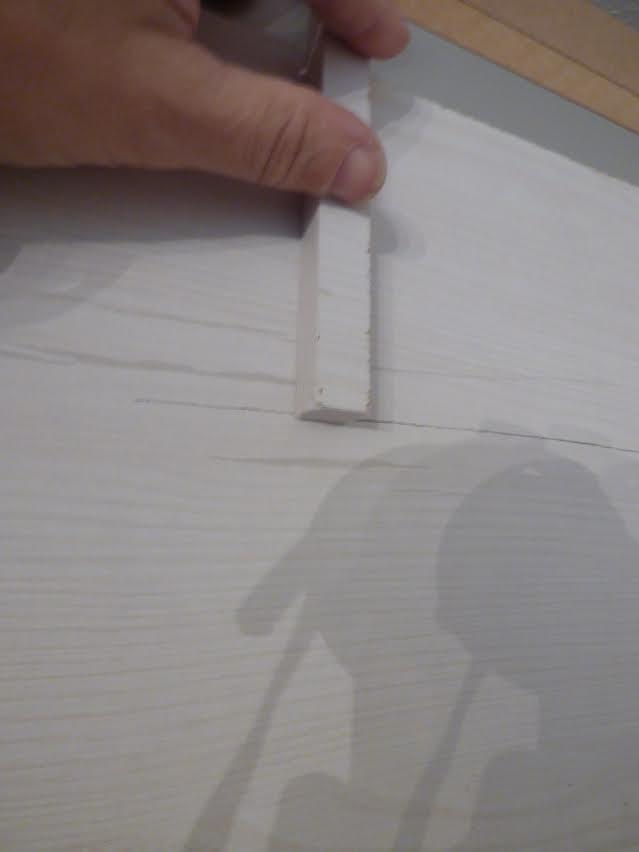
Scribe the top infill to the ceiling
29) Fix the top infill to the top rail and to the ceiling batten and fix the aluminium track to the top rail. ensure soft closers are slid into aluminium top rail before installing
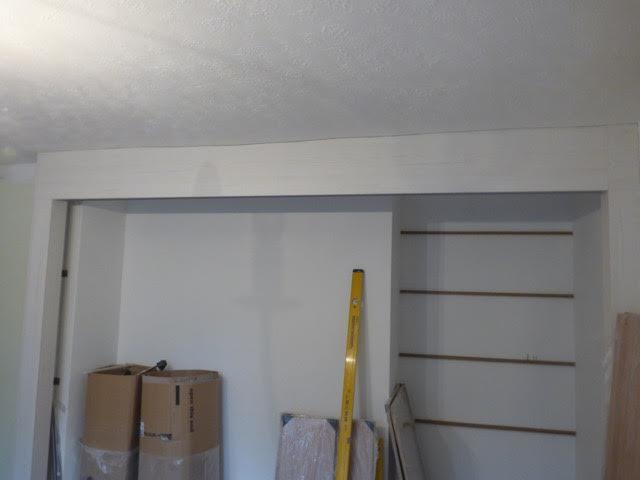
Fix the top infill to the top rail
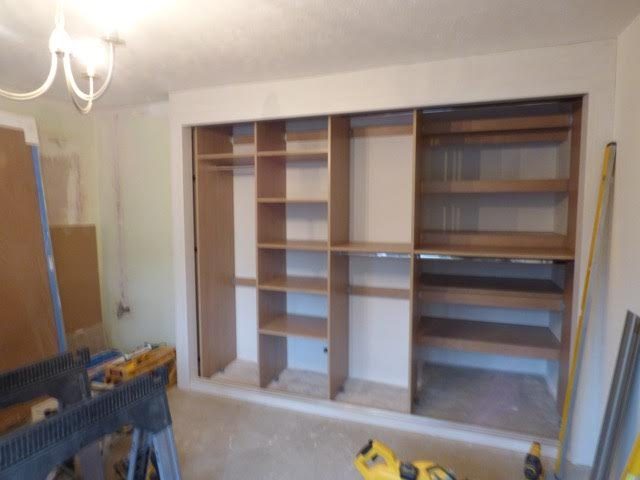
30)
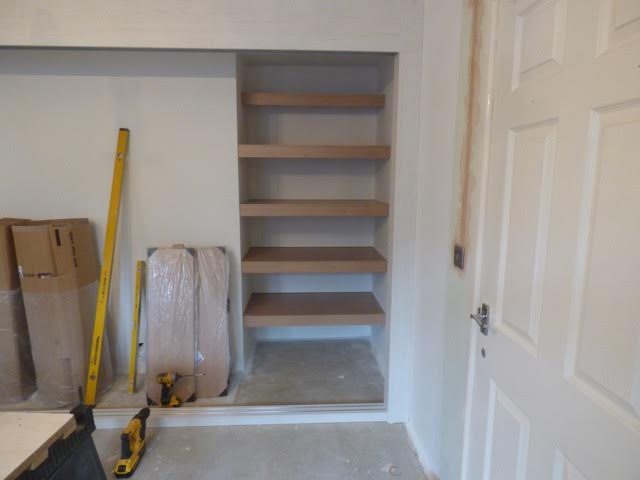
Fix internal shelves
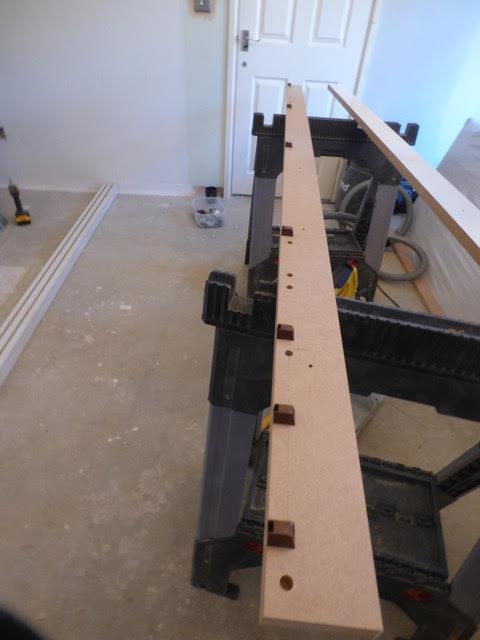
31) Fix wall battens level, these are to take the internal upright panels
Fix wall battens level
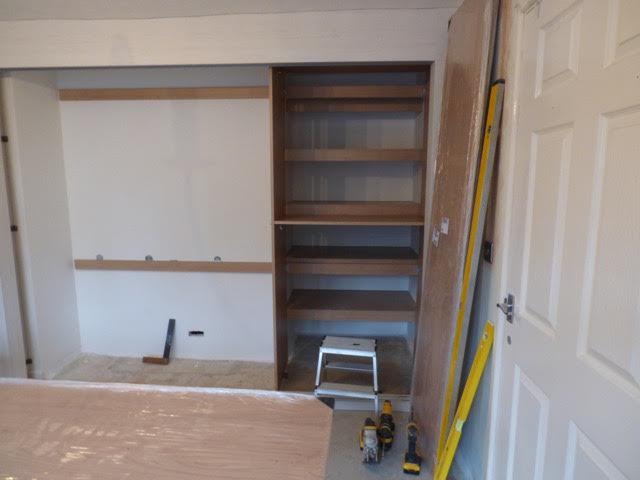
32) Fix the internal uprights panels to the width of the internal shelf
ix the internal uprights panels
33) Continue this until all internal shelves refitted
Continue this until all internal shelves refitted
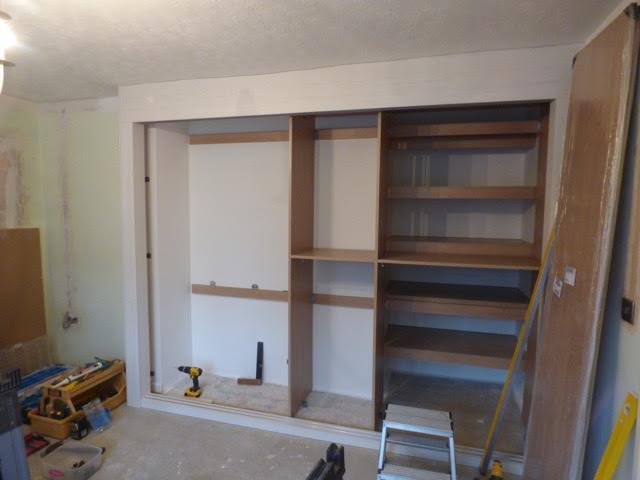
34) Fix the internal uprights to the floor using suitable fixings
Fix the internal uprights to the floor
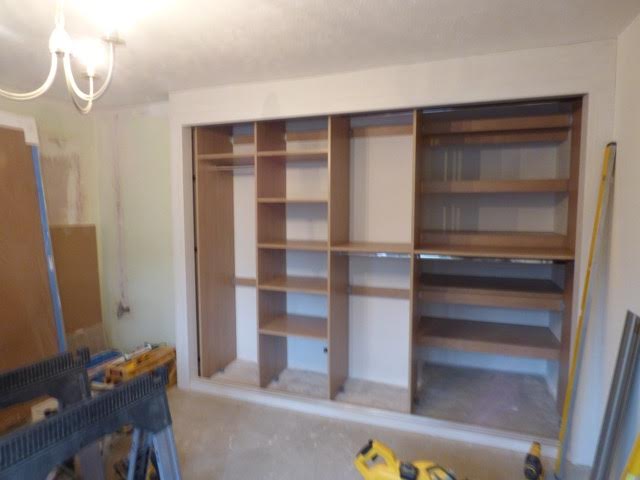
35) Place one of the doors into rear groove of the top track and drop into the rear groove of the aluminium rails on the floor track, adjust door up to adequate height
Place one of the doors into rear groove
36) Place the other door into the same grooves and adjust up to the same height as the previous door
Place the other door into the same grooves
37) Place the front door into the front groove of the top track and drop into the front groove of the aluminium rails on the floor track, adjusting up to match the rear doors. adjust soft closers to stop doors against side stiles. this example is for a 3 door run, the internals are ‘closet interiors, a carcase interior is also available
Place the front door into the front groove of the top track
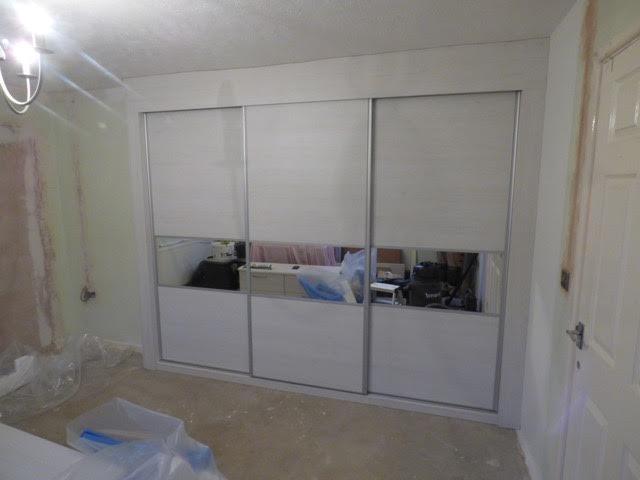
COMPLETE!
Click here for a FREE quote to install your sliding wardrobe doors
[printfriendly]